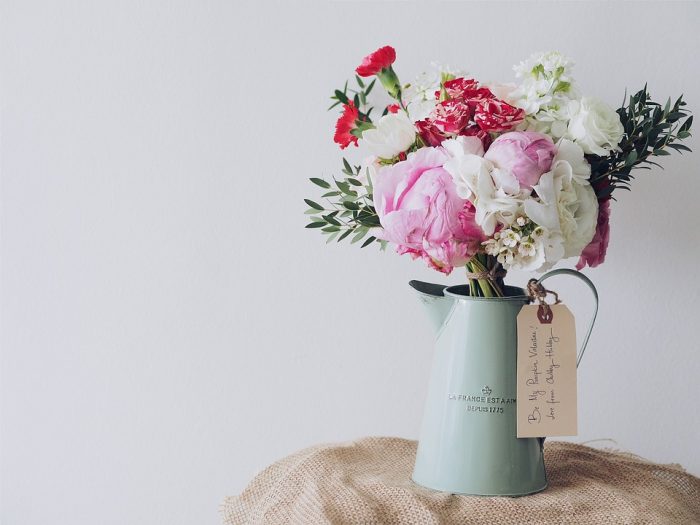
Whether it is the fragrant smell, colorful hue, or the instant connection with nature, there is always something about flowers that liven up just about any place.
Personally, I love having a bunch of flowers sit neatly on top of my center table, ready to greet me when I wake up. I consider them to be one of the few home decors that can instantly brighten up my day. In fact, even when it comes to holiday parties that I host in my home, floral accents remain to be my best bet. Lucky for me, a lot of trusted flower delivery services now make it easier for flower lovers to get professionally-arranged bouquets in no time.
On days, however, when I feel like tapping the inner florist in me (or when I forget to place my order online), I go for the do-it-yourself route. I still find the process to be relaxing and calming, much like having a quick yoga session. So, every now and then, I get my shears and gloves out to create my very own flower arrangements. And here’s what I learned so far:
- Case for the base. DIY flower arrangements thrive on the container with which they are placed in. The size and shape of the vase determine the overall layout. As for me, I opt for midsize, transparent vases, and fill them ¾ of the way with water. This way, I can easily spot if the water needs immediate changing. It also allows me to show off my go-to pattern: crisscrossed stems for added style.
- Water matters. Aside from being vital to the flowers’ freshness and life span, the kind of water where we place our precious buds in makes a whole lot of difference. Case in point: I used warm water to give a slight nudge and help open up those tight ranunculus flower heads that I once brought home. It also helped when I soaked the flowers in a constantly watered florist’s foam, as the flowers lasted longer.
- Snip and trim. Upon bringing the flowers home, I snip each one of them at an angle, just about an inch from the bottom. This makes them absorb water readily. Trimming off the stem of some or all of the flowers also ensures that I can fit them into my chosen vase or container. The same goes for excess leaves that will below water level. I cut them off so that they don’t speed up the flowers’ withering process.
- Get a grid. It may be convenient to just unload the whole bunch of flowers inside the vase and take the layering from there. Surprisingly, however, I found out that the opposite works just as well. First, I created a grid (using clear cellophane tape) to guide my arrangement. Then one by one, I placed a flower (or two) inside each hole in the grid. Not only does the grid helps keep the flowers in place, but it also helped me map out how to distribute the fillers, accents, and those with bigger blooms.
- Nice and even. When I make a DIY flower arrangement, I take time to carefully turn the vase whenever I add flowers to the setup. This helps achieve even floral distribution and also makes it look nice from whatever angle I view it.
- Mix or match. While a solid bouquet of red roses is an all-time favorite to many, a DIY-flower arrangement can always play with variety. I go for complimentary colors, add greens for texture, and finish off with a few standout flowers for emphasis.
- Space them out. Space is perhaps one of the tricky aspects of doing DIY flower arrangements. On one hand, I try my best to make sure that there are no big gaps between the flowers. But I also see to it that I give each flower space to breathe and shine. Ultimately, it all boils down to individual perspective and taste.
- Create layers and levels. Adding variety in height and width creates a whole new dimension to any flower arrangement. So, I make sure that the flowers I place inside the vase have stems that are cut in varying lengths. For example, the foundation flowers (those with large blooms) get to have longest stems, as opposed to the focal ones (flowers I want to highlight) which have the shortest stems. And then there are the fillers that have stems midway in size.
- Observe trends and seasons. Finally, I check out the current trends to keep my floral styling up to date. Similarly, I research which flowers are in season as they tend to be the cheaper ones to score, as opposed to those that are available year-round.
When it comes to recreating elegant and chic flower arrangements, several DIY tips will always come in handy. From the basics of the layout, daily maintenance and care, up to the styling, our floral favorites will surely thrive if we place them in carefully-prepared and well-kept floral arrangements.


Read 1 comment and reply